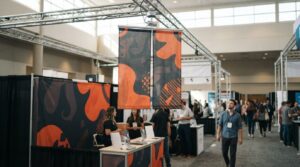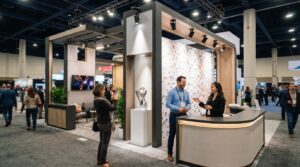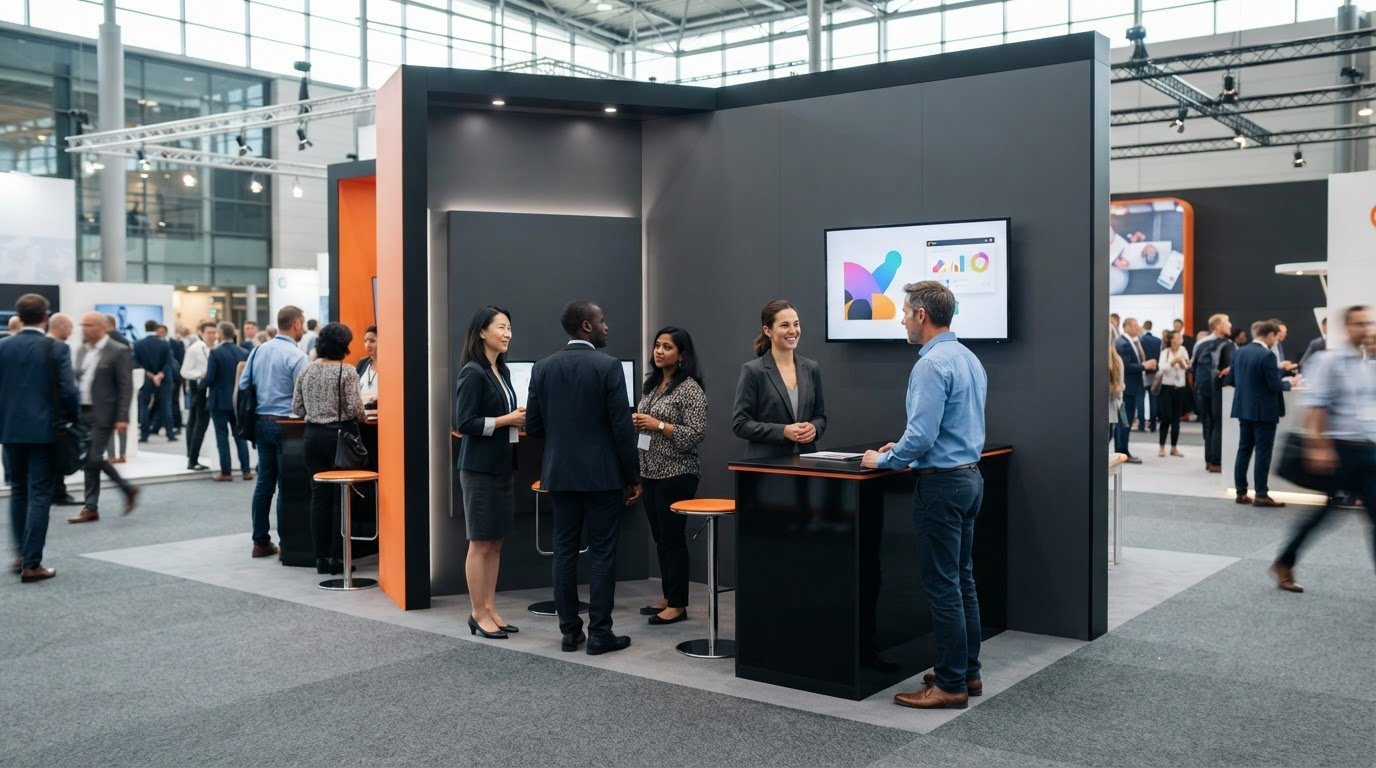
A screen should strengthen your booth story, not steal the show. A well-planned trade show display with monitor mount brings your message into view while leaving room for printed graphics, staff conversations, and visitor flow. To decide whether to use a standalone mount or place the screen alongside a larger display, plan the monitor, mount, and booth experience as one system.
The right setup depends on your booth footprint, the screen’s weight and VESA pattern, and what you want visitors to see or do next. This guide covers how to choose a display format, position the screen for clear viewing, and create concise content that complements your graphics. It also walks through practical details such as power, connectivity, and artwork coordination. An Expanding Backwall can create a cohesive branded backdrop, while thoughtful screen planning helps the whole exhibit feel polished and purposeful.
Key Takeaways
- Define the screen’s job first, whether it’s demonstrating a product, explaining a process, or inviting interaction.
- Plan your trade show display with monitor mount around booth flow, sightlines, and where staff will engage visitors.
- Compare a standalone monitor stand, a counter, and a screen positioned alongside a backwall to find the right fit for your footprint.
- Test the monitor, mount, media source, cables, power access, and audio before shipping your booth materials.
- Coordinate screen content with printed graphics so each element supports one clear brand story.
Why Add a Monitor Mount to a Trade Show Display? Start with the Booth Goal
A screen earns its place when it helps a visitor understand, remember, or explore something about your business. A trade show display with monitor mount is a booth arrangement that positions a screen for a specific purpose, whether it stands on its own or sits within a broader exhibit layout. The display is the complete branded environment; the mount is the hardware that holds and positions the screen. Planning them together keeps the monitor from feeling like an afterthought.
A Trade show brings exhibitors and attendees together around products, services, and ideas. Your booth has a short window to communicate, so decide what the screen should contribute before choosing its placement or content. Is it clarifying a product, showing a process, telling your brand story, or inviting a hands-on action? A clear purpose helps the screen complement the exhibit instead of adding visual noise.
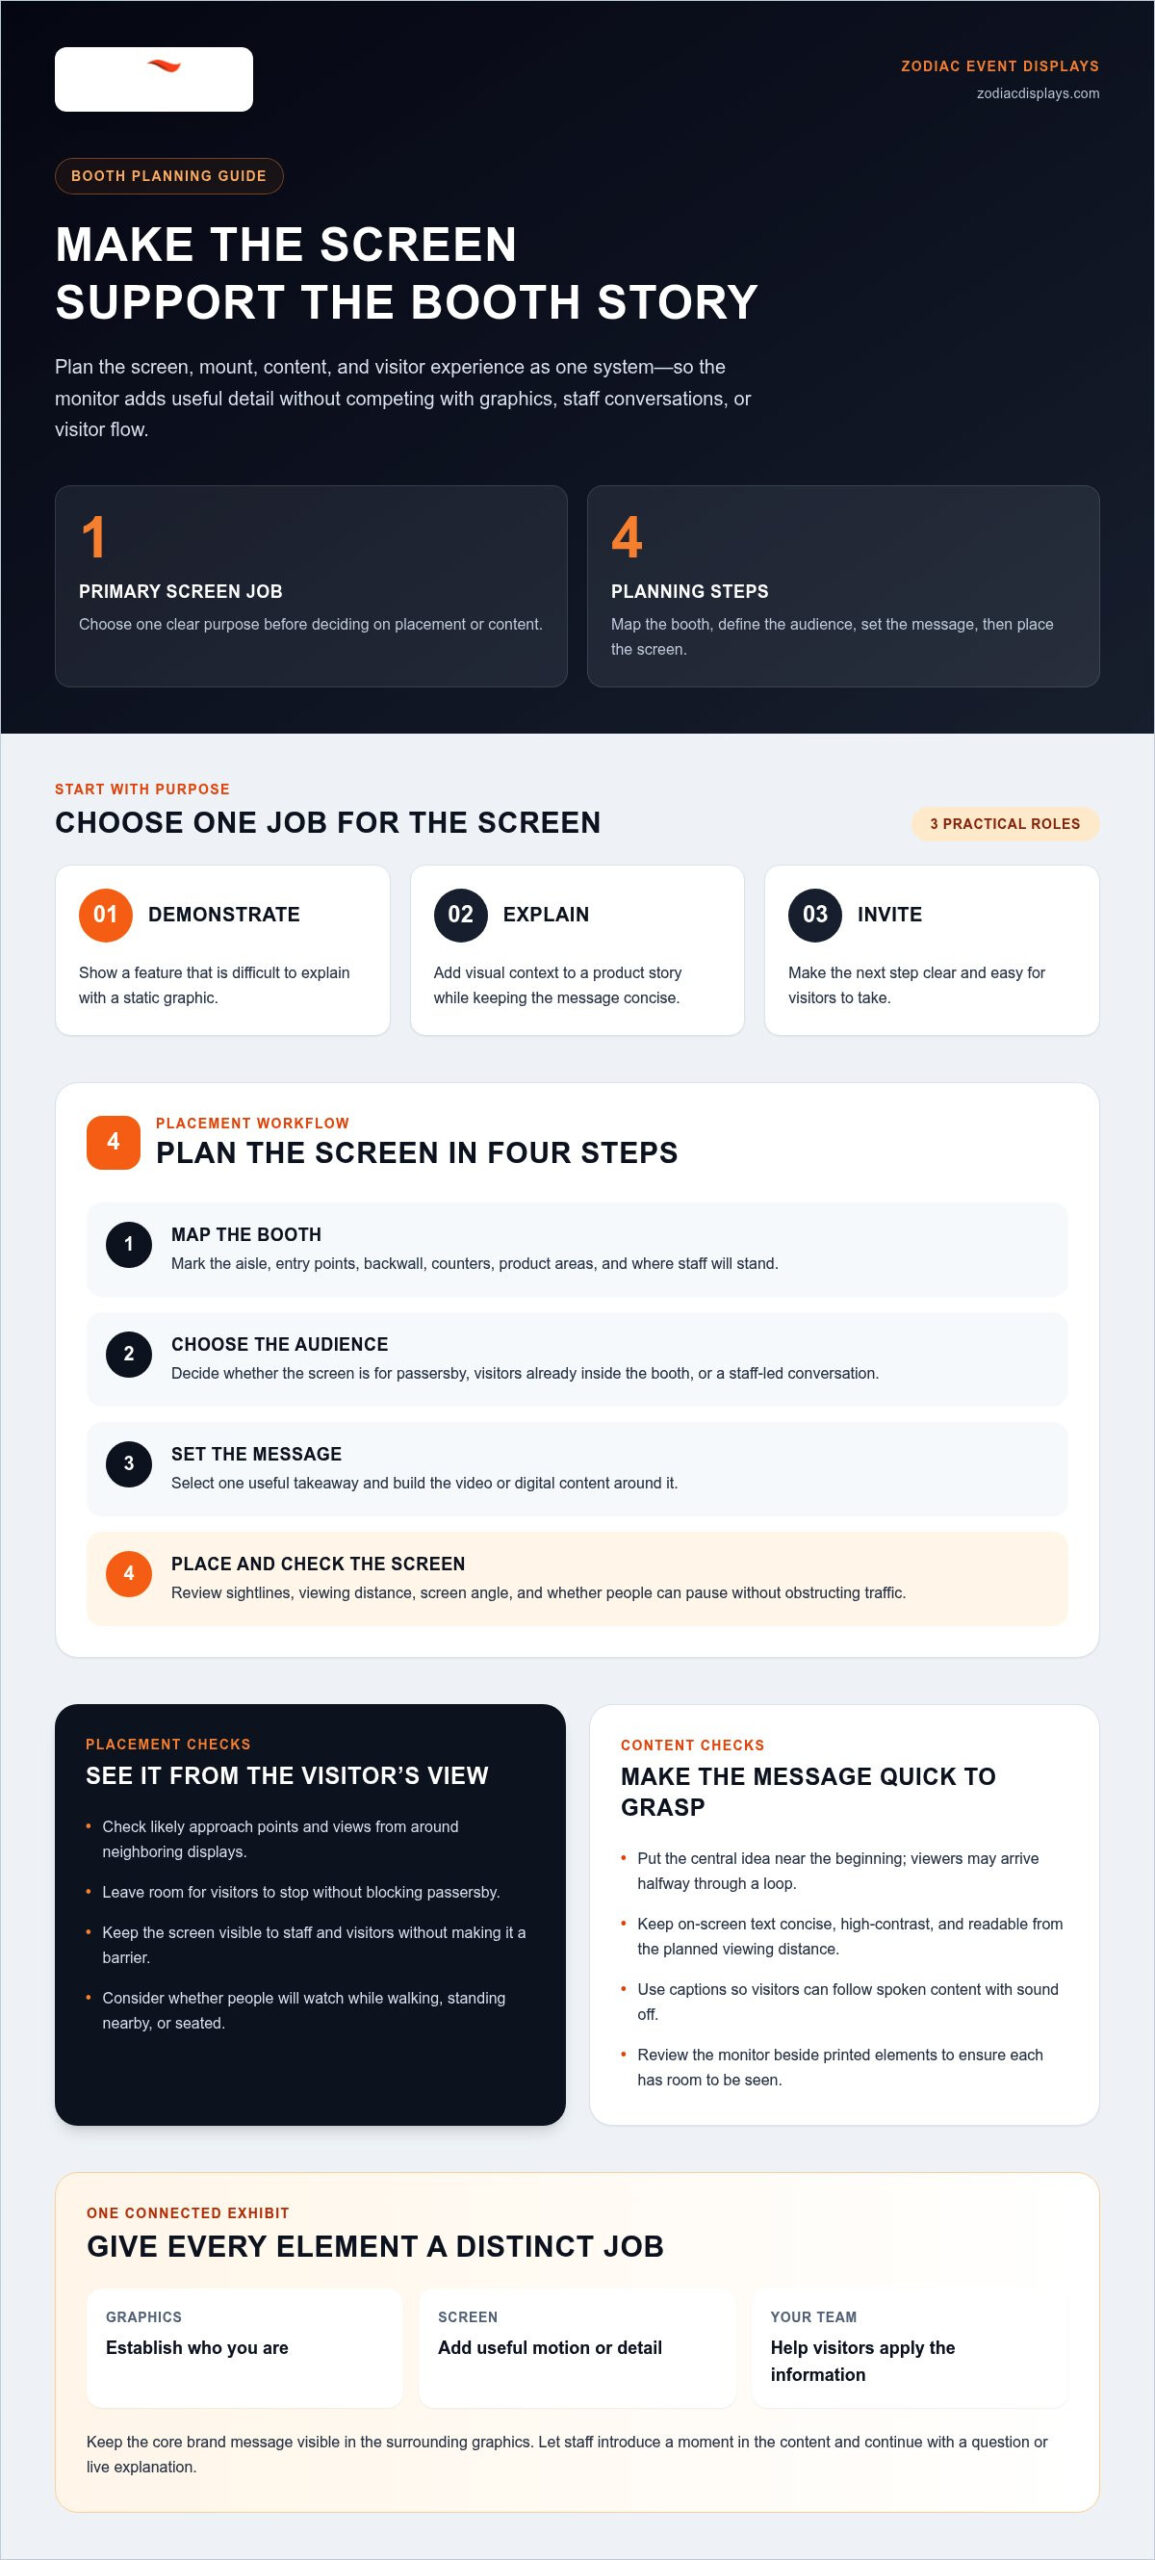
Choose one primary job for the booth screen
Start with a real visitor question or decision. If people need to see how a product works, a focused demonstration can make the answer immediate. If the product’s value depends on context, use a brief explainer to show the setting, process, or result. For interactive content, make the next step obvious, such as inviting visitors to explore a demo. One primary job gives every clip, caption, and prompt a reason to be there.
- Demonstrate: Show a feature that’s difficult to explain with a static graphic.
- Explain: Add visual context to a product story while keeping the message concise.
- Invite: Give visitors a clear action, then make it easy to take that step.
A video loop without a defined purpose can compete with staff conversations and printed messaging, especially if it runs continuously without a clear takeaway. Keep the content focused, readable at a glance, and relevant to the conversation you want to have. The screen should answer a question, not require visitors to decode a second, unrelated pitch.
Make the screen support the booth message
Keep your core brand message visible in the surrounding graphics, where it remains steady as screen content changes. A branded backwall can establish the visual frame, while the monitor adds a demonstration or detail. Staff can introduce a specific moment in the content, then follow up with a question or live explanation. That handoff turns viewing into conversation and keeps the screen in a supporting role.
Think of the exhibit as a connected experience: graphics establish who you are, the screen adds useful motion or detail, and your team helps visitors apply that information. If the monitor is the only element carrying the message, a visitor who misses the video may miss the point. Give each part a distinct job, then check that they reinforce the same story.
Plan Screen Content and Placement Around the Trade Show Booth
A well-produced screen can still go unnoticed if it faces the wrong direction or sits where visitors can’t pause. Plan the message and the physical layout together. For a trade show display with monitor mount, the booth map should guide screen placement, while the audience and content determine what it needs to show.
- Map the booth. Mark the aisle, entry points, backwall, counters, product areas, and places where staff will stand.
- Choose the screen’s audience. Decide whether it should catch a passerby’s eye, help a visitor already inside the booth, or support a staff-led conversation.
- Set the message. Select one useful takeaway and build the video or digital content around it.
- Place the screen. Check sightlines, viewing distance, screen angle, and whether viewers can stop without obstructing traffic.
Map sightlines, dwell space, and staff positions
Stand at likely visitor approach points and note what they’ll see first. A screen angled toward the aisle may draw attention, but visitors need space to stop and watch without blocking passersby. Map where staff will greet people and where product demonstrations will happen, too. The monitor should remain visible from those areas without becoming a barrier between visitors and your team.
Screen height and angle matter as much as location. Consider whether attendees will view it while walking, standing nearby, or seated during a conversation. A screen tilted toward the back of the booth may be clear to staff but hard for someone approaching from the aisle. Check the view from several positions, including around neighboring displays that may interrupt sightlines. Preserve comfortable viewing space, and avoid placing the screen where it competes with a nearby product demonstration.
Shape video and digital content for quick understanding
Design for a viewer who may arrive halfway through a loop, watch only briefly, or view without sound. Put the central idea near the beginning and make the opening frame clear enough to explain what the content is about. Keep on-screen text concise, use strong contrast, and choose type that remains legible from the planned viewing distance. Captions help visitors follow spoken content in a busy hall or watch with the sound off.
Screen size and viewing distance are linked decisions, not a one-size-fits-all formula. A larger screen may suit a longer viewing distance, but it also takes up more visual space and can overwhelm a compact booth. A smaller display may work well for close-range product details, provided visitors can gather around it without crowding staff or blocking the aisle. Mock up the placement before finalizing graphics, then review the screen beside the printed elements to make sure each has room to be seen.
Coordinating the screen with backwall graphics helps the booth feel intentional rather than assembled from separate parts. Zodiac Event Displays brings design, print, fabrication, and delivery together for exhibit projects, helping teams shape cohesive exhibit graphics around the visitor experience.
Compare Standalone Monitor Stands, Counters, and Backwall Integration
The right arrangement depends on what the screen needs to do and how much room your booth can give it. A freestanding stand separates the screen from the main graphic; a counter combines viewing with a work or interaction surface; a screen beside a backwall pairs digital content with a branded backdrop. Compare the trade-offs before settling on a trade show display with monitor mount. Treat screen support as a separate hardware decision from the graphics around it.
| Format | Useful setting | Footprint considerations | Key planning trade-off |
|---|---|---|---|
| Standalone monitor stand | A focused demonstration or video that benefits from a distinct viewing spot | Needs floor space beyond the backwall and a clear area for viewers to gather | Flexible positioning, but the stand can interrupt visitor flow if placed poorly |
| Monitor with a counter | A presentation that pairs the screen with a nearby surface for product interaction or staff materials | Combines functions, but the counter and screen together can feel crowded in a compact booth | Creates a useful work zone while requiring careful planning for staff and visitor access |
| Screen arranged alongside a backwall | A booth that needs a prominent branded backdrop with a screen as one element of the experience | Uses the rear area for branding, while the screen still needs its own stable support and viewing space | Builds a cohesive visual setting, but requires coordination between graphics, hardware, and sightlines |
When a standalone monitor stand makes sense
Choose a separate stand when the demonstration needs a dedicated viewing position, such as showing a product in use while staff explain the details nearby. Its independence lets you place the screen where the audience can see it, rather than forcing it into the center of a graphic. Map the stand and viewer space onto the booth plan first. A visible screen isn’t useful if people have to stop in a traffic path to watch.
Before finalizing the layout, compare the screen’s weight and VESA mounting pattern with the mount’s specifications. Confirm that the chosen hardware supports the specific display and intended arrangement. Don’t assume a stand fits every screen. Include the stand’s full footprint in your floor plan, along with room for staff to move and visitors to approach.
When a counter or backwall arrangement fits better
A counter-based setup can suit a guided presentation where staff need a nearby surface for materials or product interaction. Consider how visitors will stand around it and whether the counter might narrow the route through the booth. A counter can make the screen feel integrated into the conversation, but only if the layout preserves enough open space.
An Expanding Backwall can provide a branded backdrop around a screen area. Its accordion-style aluminum frame and attachable digital graphic skin create a defined visual setting. Treat the backwall as branding, not as a monitor mount. Reusable frames with interchangeable fabrics let teams refresh booth graphics across events. Plan the screen support separately, then coordinate its position and surrounding artwork so both remain visible and the overall exhibit feels intentional.
Prepare the Monitor, Cables, and Graphics Before Show Setup
A polished booth depends on more than a screen that powers on. Test the entire setup before travel, including the display, mount, media source, cables, power access, and audio if used. A rehearsal can reveal a loose connection, unreadable screen content, or a cable route that crosses a visitor area while there’s still time to adjust the plan.
Check screen compatibility and media playback
Use the screen and mount manufacturers’ specifications to verify display dimensions, weight limits, and mounting pattern compatibility. Don’t assume a mount fits because the screen appears to be the right size. Assemble the hardware, secure the monitor as directed, and test the setup in the position you plan to use at the show.
Run the exact media source and playback sequence you’ll rely on at the booth. Check every connection, confirm that the opening content appears as intended, and test audio if your presentation uses it. If the content doesn’t need live internet access, prepare an offline playback option so the presentation isn’t dependent on a network connection.
- Confirm the screen and mount specifications are compatible.
- Test the media player, file, connections, and playback sequence.
- Check power access and plan a tidy cable route that won’t interfere with booth activity.
- Pack the required cables and keep a backup copy of the presentation content.
- Test audio and any other presentation components you plan to use.
Coordinate digital content with printed booth graphics
Review the screen and printed graphics side by side. Give each a distinct role, but keep their message, visual hierarchy, and brand colors aligned. For example, a backwall can carry the core brand statement while the screen shows a product detail. Leave enough visual breathing room around the monitor so it doesn’t cover key copy or make the graphic feel crowded.
For accurate color matching, provide Pantone references. CMYK artwork may be used, but color variation is expected. Verify an exact Pantone match with a Pantone guide. Submit print artwork in Adobe Illustrator AI, PDF, EPS, or Adobe Photoshop format. Files must be PC-compatible, not Mac format. InDesign files aren’t accepted.
Prepare photos and other raster images at 72 to 100 ppi at 100% print size. Link images as separate files rather than embedding them, and don’t submit GIF, PNG, or TIFF files for banners. Set bleed according to product requirements, which range from 0.7 to 3 inches; plain banners require 2 inches on all sides. Convert text to outlines or curves, or supply the font file. Outlines are preferred.
A carefully planned trade show display with monitor mount brings the screen, printed backdrop, and visitor experience together. Zodiac Event Displays offers design support and coordinates design, print, fabrication, and delivery. Plan your exhibit graphics as part of a cohesive booth presentation.
Bring the Screen and Brand Together with a Thoughtful Exhibit Plan
A screen makes the strongest impression when it feels like part of the booth’s story, not a separate attraction. Align its content with the printed graphics, the visitor journey, and the conversation your team wants to start. That connection turns a display from a collection of elements into a considered brand experience.
The same thinking applies when translating brand storytelling from temporary exhibits into permanent spaces; turnkey specialists like Verve Interior Design & Build integrate spatial design, media displays, and physical fit-outs into unified commercial environments.
Build a cohesive screen-and-graphics concept
An Expanding Backwall can create a branded backdrop with an accordion-style aluminum frame and attachable digital graphic skin. Plan the screen content to complement that graphic: the backwall can establish the brand and main message, while the screen adds movement, detail, or a demonstration. Keep logos, typography, colors, and tone consistent across both. Leave the central message clear rather than filling every available space.
Reusable backwall frames can be paired with interchangeable fabrics, giving you a way to refresh graphics for different events while maintaining a familiar visual identity. Decide what should remain consistent, such as your logo and core brand elements, and what can change to reflect a new product focus or campaign. The screen can adapt alongside the printed exhibit instead of feeling disconnected from it.
For a broader view of exhibit planning, explore this custom trade show displays guide. It can help you plan the screen, graphics, and visitor experience as coordinated parts of the booth.
Turn the booth plan into a collaborative project
A cohesive exhibit comes together through connected decisions. Start with the event goal and audience, translate those priorities into a booth layout, then develop the artwork around screen placement and the key message. Once the concept is aligned, design, print, fabrication, and delivery can move forward as parts of one project rather than disconnected tasks.
Zodiac Event Displays brings in-house design support and more than ten years of experience in soft signage and event branding to this process. The team works as a creative partner, connecting the visual direction to practical exhibit elements and carrying the project through its stages. Share the booth footprint, screen’s intended role, event needs, and brand priorities early so the concept can be shaped around the complete experience.
With a clear plan, a trade show display with monitor mount can bring digital storytelling and printed branding together without letting either overwhelm the visitor. If you’re ready to shape a screen-ready booth concept, discuss your trade show display project with the Zodiac team.
Make Your Next Booth Plan Count
Your screen doesn’t need to do everything. Give it one clear role in the visitor experience, then shape the booth around the moment you want to create, whether that’s a closer look at a product, a focused conversation, or an invitation to explore. With that purpose in place, a trade show display with monitor mount can become a natural part of your brand story rather than just another piece of equipment.
Bring your goals, booth footprint, screen content, and visual identity into one working concept. Zodiac Event Displays can help shape an exhibit plan that connects the screen with the surrounding graphics and creates a confident setting for your team to engage visitors.
Plan a standout trade show display with Zodiac and take the next step toward a booth that feels purposeful, cohesive, and ready to make an impression.
Frequently Asked Questions
What size monitor is best for a trade show booth?
Choose a monitor size based on how far away visitors will be and how much space the booth can dedicate to viewing. For a close-up product walkthrough at a counter, a smaller screen may be easier to engage with; for content meant to catch attention from farther away, a larger screen may be more visible. Mock up the screen’s position and check whether key details can be read from the likely viewing area before deciding.
Can a monitor mount fit any trade show display?
No. Compatibility depends on the specific display, mount, and supporting structure. Compare the monitor’s mounting pattern and weight with the mount’s specifications, then follow the hardware manufacturer’s installation guidance. Also consider how the mount will be supported: a freestanding stand, counter, or booth structure each has different requirements. Treat the mount as a separate component in your layout rather than assuming a printed backwall is designed to carry a screen.
Do I need Wi-Fi to show video on a trade show monitor?
No, not if the video is stored locally and your playback device can run it without an internet connection. For example, you might play a saved product demonstration from a laptop or media player connected directly to the screen. Wi-Fi is needed for content that streams online or relies on a live web connection. Test the exact playback method before the event, including sound settings and what appears when a clip ends.
How can I keep a booth video playing when staff are talking to visitors?
Set the video to play on a continuous loop with the sound muted or low enough that it doesn’t compete with conversation. Include captions and a clear opening message so visitors can follow along even if they start watching mid-clip. Keep the loop focused on a single idea, such as one product feature, and give staff an easy way to pause or restart it when a live demonstration begins.
Should I use a touchscreen or a regular monitor at a trade show?
Choose a touchscreen when visitors need to make choices or explore information themselves, such as selecting a product category in a guided demo. Commercial touchscreen and kiosk systems from providers such as OXHOO are built specifically for direct customer engagement. A regular monitor is a better fit for a video or presentation that people can watch without interacting. Consider whether someone can use the screen comfortably without staff assistance and whether the interaction adds value. If it doesn’t, a simpler display may keep the experience more direct.
How do I prevent a screen from distracting from my booth graphics?
Give the screen a supporting role and keep the main brand message legible on the printed display. Use a consistent visual style, but avoid repeating every headline on both the screen and the graphics. For example, the backdrop can identify the brand and product category while the screen focuses on one demonstration. Check the booth from the aisle and from inside it to catch visual conflicts before setup.
How much does a trade show display with a monitor mount cost?
The total cost of a trade show display with monitor mount depends on the booth format, screen and mount choices, graphic scope, and production needs. A standalone arrangement differs from a custom exhibit with coordinated printed elements. Build your project budget around the components you need, including the display structure, graphics, screen hardware, and event-specific services. Zodiac Event Displays provides design, print, fabrication, and delivery for branded exhibit elements.

 Previous reading