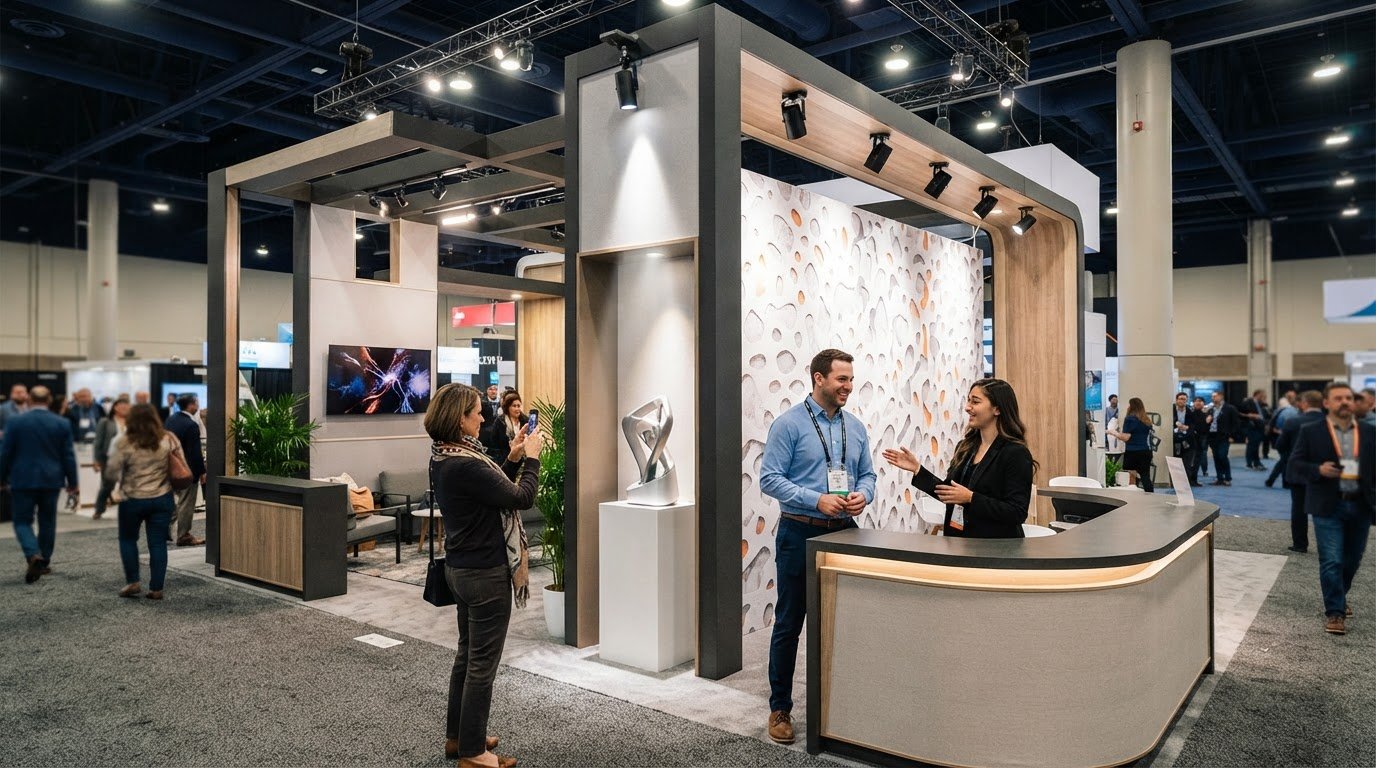
A bright booth can still look flat when the beam misses the display. With LED trade show display lighting, beam angle determines where light lands and how widely it spreads: a narrow beam concentrates attention, while a wider beam illuminates more of the booth. Aim it carefully so your graphics and featured products stand out.
Choosing the right light involves more than brightness. Consider how its color temperature renders your visuals, how much power the fixture uses, and whether its mounting option suits your display.
This guide explains how beam angle shapes coverage, what lumens and wattage indicate, and how color temperature affects the look of your booth. You’ll also learn about common lighting options and practical factors for creating an exhibit that feels cohesive, visible, and welcoming.
Key Takeaways
- Choose a beam spread that puts light on your graphics and featured areas, not beyond them.
- Use lumen output to compare brightness, then consider how the fixture’s placement affects the coverage you need.
- Match color temperature across fixtures to create a more consistent look for your booth and brand visuals.
- Compare actual wattage and mounting styles so your lighting plan fits both the display and its power needs.
Lumens: How much light does it produce?
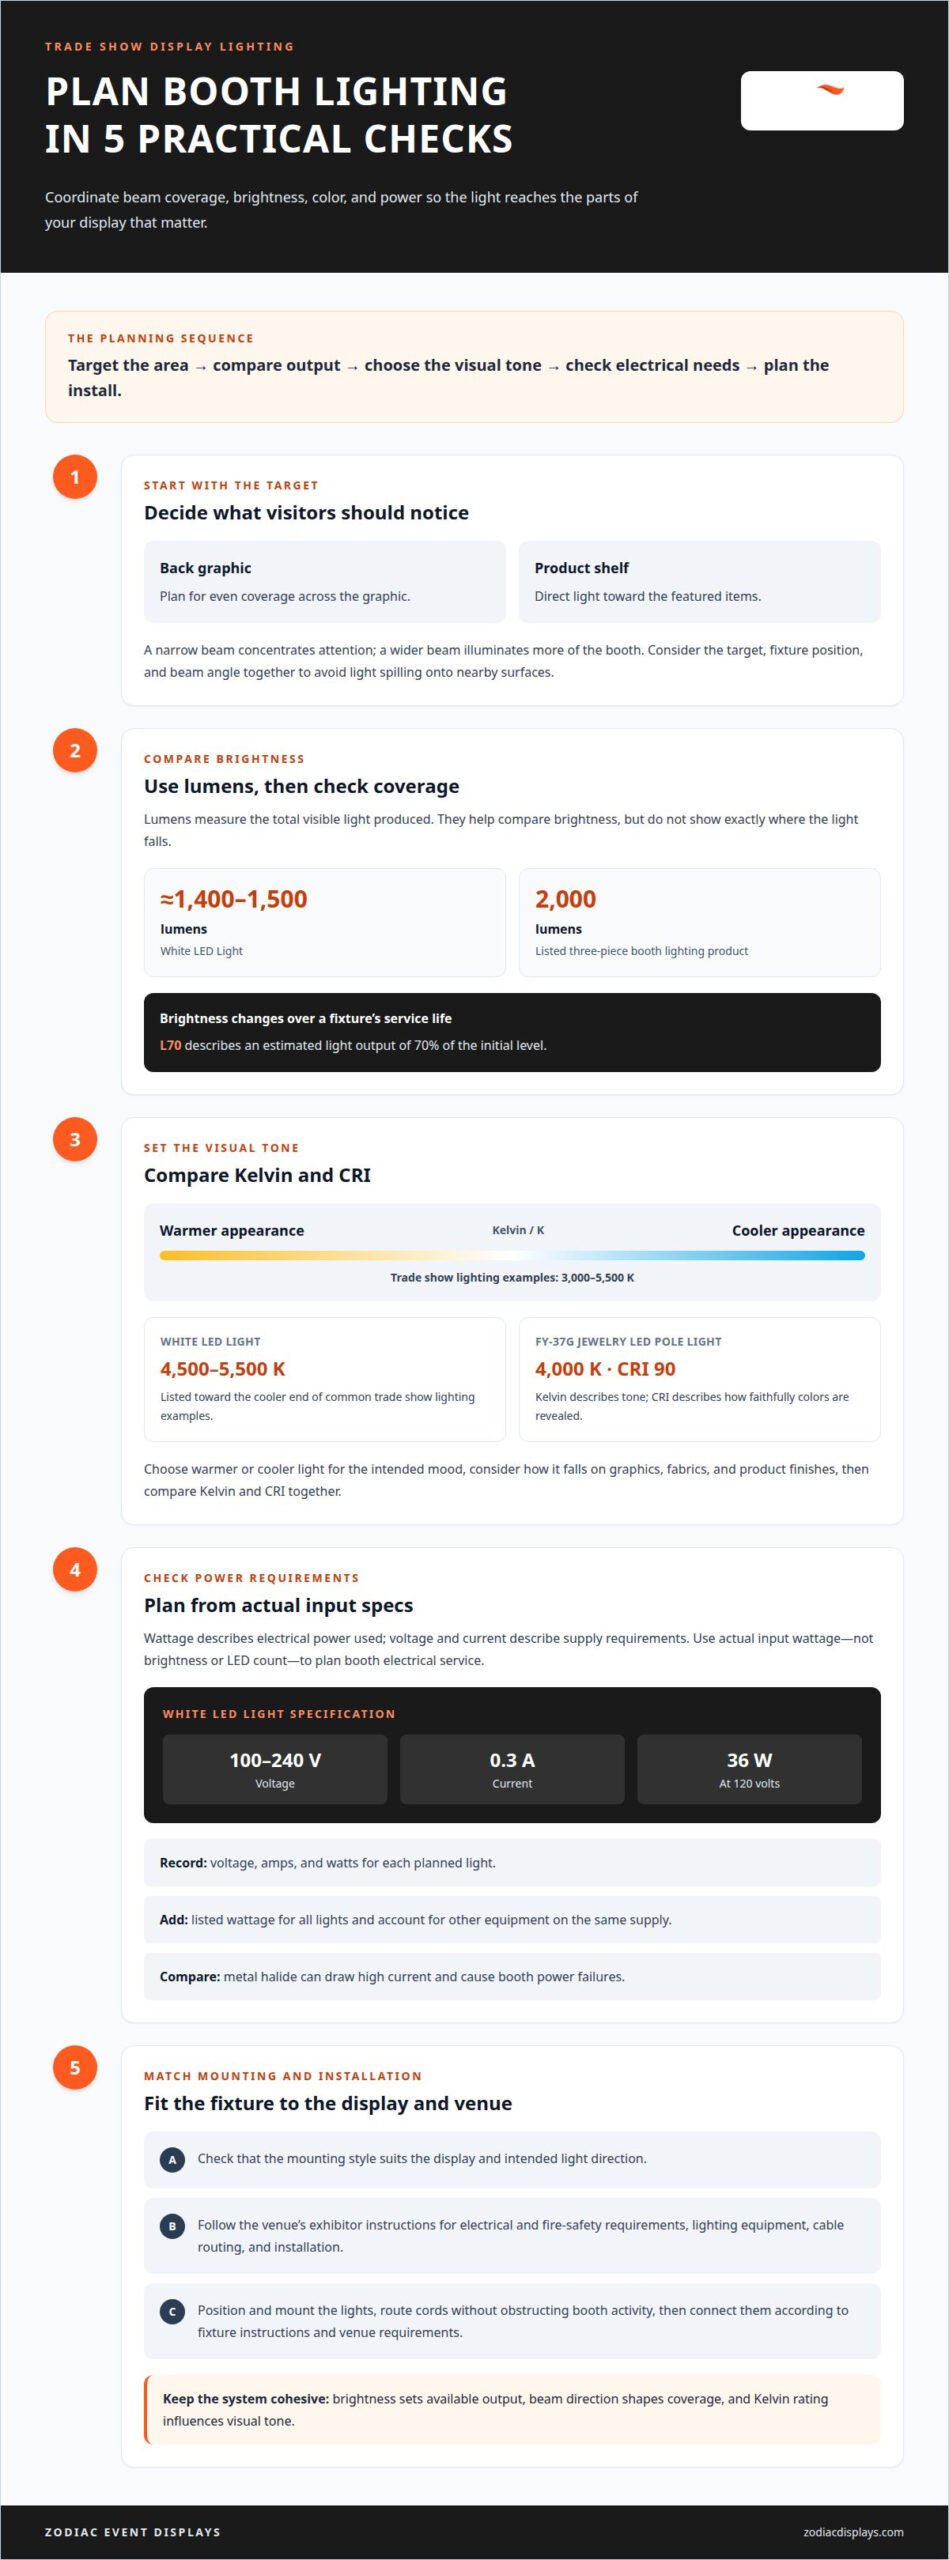
No single lumen count or color temperature suits every booth. A White LED Light produces approximately 1,400-1,500 lumens, while a listed three-piece booth lighting product is rated at 2,000 lumens and 6,500 K. Trade show lighting examples span 3,000-5,500 K, so choose output and color for your display’s coverage and appearance.
Lumens measure the total visible light a fixture produces. They help compare brightness, but don’t show exactly where the light falls. A focused beam can make a graphic pop while leaving nearby areas dim; a broader beam spreads light across more of the display. Consider the illuminated area, fixture position, and beam angle together.
For a practical comparison, start with the surfaces you want visitors to notice. A back graphic may need even coverage, while a product shelf calls for light directed at the items. Compare each fixture’s lumen rating, then consider whether its position and beam spread can reach the target without spilling onto nearby surfaces. One bright spot won’t necessarily illuminate the whole booth.
Output can also change over a fixture’s service life. An L70 rating refers to an estimated light output of 70% of the initial level. For example, use the rating to understand how a fixture’s brightness is described over time, rather than treating its initial lumen figure as a permanent output level.
- Broad coverage: Compare a fixture’s lumen output with the size and layout of the area it must illuminate.
- Focused emphasis: Direct the beam at a specific graphic or product instead of relying on lumens alone.
- Color coordination: Compare the listed Kelvin rating with other booth fixtures for a consistent look.
Treat LED trade show display lighting as a coordinated system: brightness sets the available output, beam direction shapes coverage, and Kelvin rating influences the visual tone. The right balance depends on what you want the light to reveal.
Kelvin / K Rating: Does the light look warm or cool?
Kelvin describes a light’s color appearance, not its brightness. Lower ratings appear warmer, while higher ratings appear cooler. Trade show lighting examples range from 3,000 K to 5,500 K. A warm tone can make a booth feel inviting, while cooler light can give graphics a crisp, bright appearance.
Start by considering the colors and materials visitors will see. A warm-white fixture can bring a softer quality to a display, while a cooler white may make clean, high-contrast graphics feel sharper. The White LED Light is rated at 4,500-5,500 K, a range that sits toward the cooler end of common trade show lighting examples. Compare the light’s listed rating with the atmosphere and visual style you want.
Color rendering matters, too. The color rendering index, or CRI, describes how faithfully a light reveals colors compared with a reference. A high CRI can help printed brand colors and product finishes appear more true to life. For example, an FY-37G jewelry LED pole light is specified at 4,000 K and CRI 90. That example shows why Kelvin and CRI answer different questions: Kelvin describes the light’s tone, while CRI addresses color appearance.
Use this simple selection sequence before settling on fixtures:
- Choose the mood: Decide whether warmer or cooler light best supports your booth’s intended look.
- Review the colors: Consider how the light will fall on printed graphics, fabrics, and product finishes.
- Compare both ratings: Read the Kelvin and CRI values together, rather than treating either as a complete measure of visual quality.
For a cohesive presentation, plan the display graphics and lighting as parts of one visual system. Explore booth display design ideas as you shape the look and feel of your exhibit.
Power consumption and wattage
Wattage describes the electrical power a fixture uses, while voltage and current describe its supply requirements. The White LED Light requires 100-240 volts, draws 0.3 amps, and is rated at 36 watts at 120 volts. Use the fixture’s actual input wattage when planning booth electrical service, rather than estimating from brightness or LED count.
Compare each fixture’s electrical specifications with the power available at your booth. Add the listed wattage for all planned lights, then account for other equipment using the same supply. For a multi-fixture plan, consider each unit’s input, not just one light’s rating. Metal halide lighting can draw high current and cause booth power failures, so its power demand is an important point of comparison.
For U.S. trade show booth lighting, follow the event venue’s exhibitor instructions for applicable electrical and fire-safety requirements. Check the instructions for lighting equipment, cable routing, and installation, as requirements can vary by venue and event.
To install and power LED lighting, identify each fixture’s voltage, current, and wattage first. Position and mount the lights, route cords without obstructing booth activity, then connect them according to the fixture instructions and venue requirements. For example, a fixture rated for 100-240 volts can operate across that stated voltage range.
LED lifespan depends on the fixture’s rated life and how its output changes over time. An L70 rating means the estimated light output reaches 70% of its initial level. This describes retained brightness, not a specific number of operating hours. Use the rating to compare how manufacturers describe light output over a fixture’s service life.
Replacement costs depend on the fixture and whether replacement involves more than the light itself. Consider the unit, compatible mounting hardware, and any installation work required. There’s no single replacement figure that applies to every fixture, so compare the specific product and setup rather than assuming wattage predicts purchase cost.
- Before installation: Record voltage, amps, and watts for every planned light.
- For service planning: Use actual input wattage and account for other equipment on the booth supply.
- For upkeep: Review the L70 rating and retain fixture details for future replacement.
LED lighting options for trade show booths
Choose fixtures based on display type, mounting position, and the area that needs illumination. For fabric graphics, prioritize even coverage; for specific products, consider adjustable spotlights.
Backlit Displays and Fabric Graphics
For backlit fabric graphics, position lighting to spread illumination evenly behind the material. For graphics or products lit from the front, spotlights and mini track lights can direct attention to selected areas. Choose based on whether your display needs broad, consistent illumination or focused accents.
Compare mounting styles alongside the fixture. One listed option is a set of two 21-watt, 42-LED spotlights with adapters for displays and pop-up booth podiums. Photos of the display and mounting area can help determine a suitable fixture and bracket combination. Trade shows commonly ban lighting that produces high heat, so consider heat output when selecting booth lights.
Display Light Costs
LED trade show display lights vary in cost by fixture type, quantity, and mounting hardware. Compare complete setups rather than the light alone: an adapter or stand may be part of the configuration you need.
For example, a two-piece desktop stand set for an LED bulb differs from a five-light mini track spot set in fixture count and format. Decide how many areas need illumination, then compare options suited to your display and mounting arrangement. These product examples show different configurations, not a standard price for every booth.
Common options include warm-white fixtures, spotlights, and track spots. A listed warm-white trade show LED light is rated at 19 W and 3,000 K; mini track spots suit a showcase where several focused beams are useful. Match the fixture style to the graphic or product, then consider how it mounts and spreads light.
- Fabric graphics: Prioritize even illumination behind the material.
- Featured products: Consider directed spotlights or track fixtures.
- Mounting: Compare adapters, stands, and brackets with the display structure.
Explore trade show display options to shape a booth where graphics and lighting work together.
Zodiac Event Displays: Event Tents
Zodiac Event Displays helps bring an event presence together with custom-branded Event Tents, Backwall Displays, Custom Flags, and Inflatables. Turn to these options when your lighting plan is part of a broader booth or event setup, and you want the surrounding visuals to feel aligned with your brand.
At a trade show, a Backwall Display can create a clear visual backdrop, while Custom Flags can add branded visibility around the space. Event Tents can support an outdoor event presence, and Inflatables can create a distinctive branded feature. Consider how each element fits your layout and the story your lighting helps reveal.
Explore Zodiac Event Displays to plan branded event materials, or visit the site to get started.
Shape the Booth Experience Before the Next Show
Give your lighting plan a clear purpose before finalizing the booth. Decide what visitors should notice first, which direction they’ll approach from, and how the display should feel as they move through the space. These choices can guide your design decisions so every illuminated area supports a more intentional presentation.
LED trade show display lighting works best as part of a broader brand experience, not as an isolated fixture choice. Use your priorities to guide the booth design, align graphics with the atmosphere you want, and create a space that stands out from the aisle. A thoughtful plan gives your team a clear starting point for the next event.
Explore ideas with Zodiac Event Displays and take the next step toward a more cohesive exhibit. Contact Zodiac Event Displays to discuss your event vision. Your next booth can make a confident impression from the moment visitors see it.
Frequently Asked Questions
Beam angle: Where does the light go?
A beam angle determines how widely light spreads from a fixture. A narrow beam concentrates illumination on a smaller target, such as a product or logo, while a wider beam covers more surface. For example, aim a focused beam at a featured item and use broader coverage for a large graphic. Fixture distance and angle also affect where the beam lands, so assess the target from the planned mounting position.
Mounting: Will it connect to my display?
It depends on the fixture’s attachment method and the display’s frame or mounting surface. Some lights use clamps or adapters; others require a separate stand or mounting point. Before choosing a setup, identify the frame material, available attachment points, and desired fixture position. A compatible connection should hold the light securely and direct it toward the intended area without blocking graphics or visitor access.
Need Help Choosing Lights or Mounting Brackets?
Start by noting the display’s shape, the surfaces you want to illuminate, and where fixtures could attach. Include the frame type, graphic orientation, and nearby power access in your plan. Then compare lights and brackets designed for those conditions. If you’re planning the display itself, Zodiac Event Displays offers Backwall Displays for a branded booth backdrop.
Rated operating hours: How long should it last?
Rated operating hours estimate how long a fixture is designed to operate, but they don’t translate directly into calendar years. Divide the rated hours by the hours you expect to use the light per event day, then consider how often you exhibit. A fixture used only during events accumulates operating time differently from one left on throughout setup and teardown.
Watts: How much power does it use?
Use the fixture’s watt rating to estimate electrical energy use: multiply watts by operating hours to get watt-hours. For a booth with several lights, add their wattages before estimating total use. This gives you a planning figure, while the fixture’s voltage and current ratings help determine whether its electrical requirements suit the available supply.
What types of LED lighting are used for trade show displays?
Common choices include backlighting for fabric graphics, spotlights for focused accents, and track lights for directing several beams across a display. Desktop stands can suit smaller presentation areas, while adapters can attach certain spotlights to compatible displays. Choose based on the effect you need: even illumination behind a graphic, a defined highlight on a product, or adjustable coverage across multiple features.
 Previous reading