The lightest canopy isn’t automatically the best outdoor retail pop-up shop tent. Choose a setup that suits how long you’ll trade, how often you’ll move it, and the weather exposure at your location. A pop-up shop might operate for a day or run for weeks or months, so portability and durability matter differently for each event.
A tent is only one part of a strong outdoor shop. You’ll also want enough covered space for your products and customers, weather protection suited to the conditions, and a realistic budget for the full setup. This guide explains how to compare light-duty and professional canopies, assess weather protection, and weigh the costs that shape your plan, so you can make a practical choice and create a polished retail presence.
Key Takeaways
- Match canopy construction and portability to how often you’ll set up, pack down, and move your retail display.
- Compare fabric ratings and weather features, then choose protection that suits the conditions where you’ll trade.
- Build your budget around the full pop-up experience, including space, shelter, display elements, and operating needs.
- Plan the tent layout for each location so customers can see your products, approach your display, and move through it comfortably.
Recommended light-duty and professional canopies
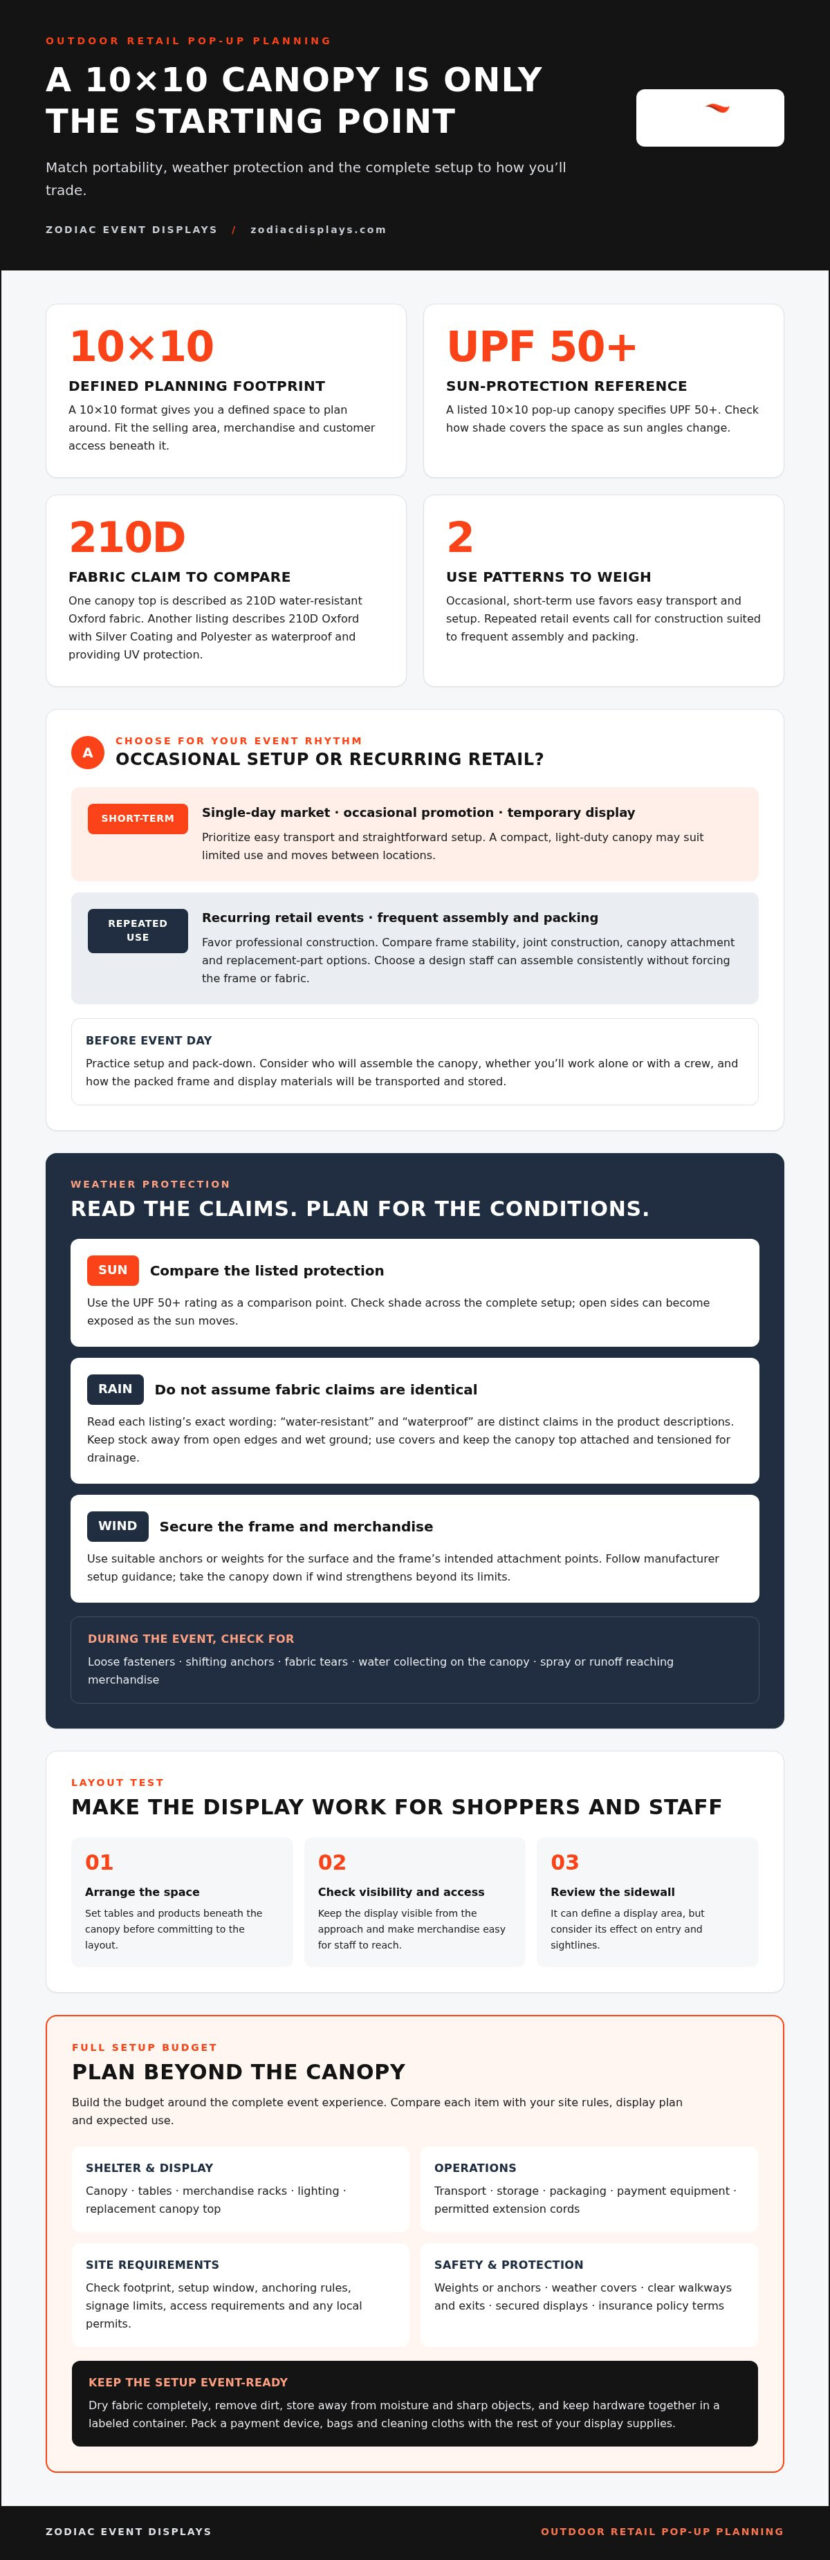
- Match the canopy to your event schedule. For a single-day market or occasional promotion, prioritize easy transport and straightforward setup. For recurring retail events, focus on a setup designed to handle frequent assembly and packing.
- Compare setup methods before choosing. A one-push setup can simplify opening the canopy, while a model with a sidewall offers another layout option. Consider who will assemble it and whether you’ll work alone or with a crew. A quick practice setup before event day can reveal awkward steps and packing challenges.
- Choose light-duty equipment for limited use. A compact canopy may suit a short market appearance, a product launch, or a temporary display that moves between locations. Keep the footprint aligned with your selling area, customer access, and merchandise. A 10×10 format gives you a defined space to plan around.
- Favor professional construction for repeated retail use. Compare frame stability, joint construction, canopy attachment, and replacement-part options. These details affect setup, storage, and ongoing use. If several staff members will handle the tent, choose a design they can assemble consistently and pack without forcing the frame or fabric.
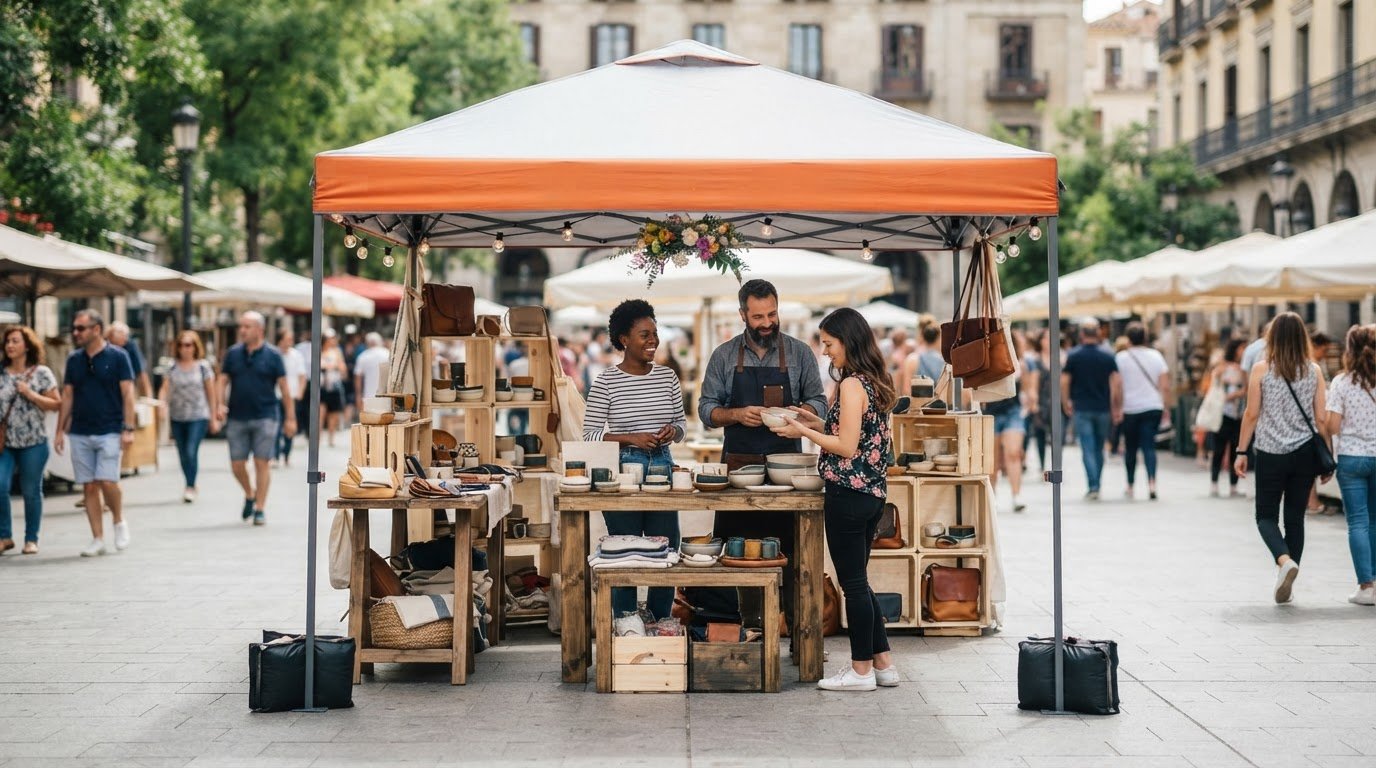
- Test the full retail layout before committing. Set up the canopy and arrange tables, products, and customer pathways beneath it. Check that the display remains visible from the approach and that staff can reach merchandise easily. A sidewall can help define a display area, but consider how it affects entry and sightlines.
Price can help narrow the choice once the layout and expected use are clear. Compare the features each option provides against your event needs, including how you plan to manage entry, sightlines, and assembly. These listed prices offer a straightforward starting point, but the setup method and layout should remain part of the decision. Consider which option better fits your staff’s routine and the way customers will approach and move through the display.
UV protection and weather resistance
Secure the frame with suitable anchors or weights, following the manufacturer’s setup guidance, especially in windy conditions. Protect merchandise from rain and theft by planning for drainage, covering stock, and securing valuables whenever the stand is unattended.
- Compare the fabric’s sun-protection rating. A listed 10×10 pop-up canopy specifies UPF 50+ protection. Treat that rating as a useful comparison point when shoppers and products will sit beneath the canopy. Check how much shade the complete setup creates throughout your event, since changing sun angles can expose open sides.
- Read water-resistance claims closely. A listed canopy top uses 210D water-resistant Oxford fabric. Another material description names 210D Oxford with Silver Coating and Polyester, and describes the material as waterproof and providing UV protection. Compare each listing’s exact wording rather than assuming all fabrics offer the same coverage.
- Plan for rain before displaying merchandise. Position tables and stock away from the edges, where wind-driven rain can reach open sides. Keep cartons and electrical items off wet ground, and use protective covers for products between transactions. Check that the canopy top is properly attached and tensioned, so water can drain instead of pooling.
- Secure the structure and merchandise. Choose anchors or weights suited to the surface, such as pavement or grass, and use the frame’s intended attachment points. If wind strengthens beyond the setup’s limits, take the canopy down. Lock valuable stock in secure containers or remove it when staff leave the display.
- Inspect the setup during the event. Look for loose fasteners, shifting anchors, fabric tears, and water collecting on the canopy. Reposition merchandise if spray or runoff reaches it. A clear shelter plan also supports a sharper presentation, so coordinate your event display planning with the conditions and layout at your site.
Budgeting for outdoor retail pop-ups
Budget for the complete event setup, not just the canopy. Account for site requirements, display materials, transport, supplies, and protection for people and merchandise.
-
Check Permits and Event Rules
Review the event organizer’s rules and local requirements for your specific location. Permit requirements vary by place and type of activation, so don’t assume one market’s rules apply elsewhere. Confirm the approved tent footprint, setup window, anchoring rules, signage limits, and access requirements. Allow time for any applications before committing to event expenses.
-
Set Up, Take Down, Transport, and Store the Tent
Practice setting up and packing down the complete display before event day. Follow the frame instructions, secure all components, and keep hardware together in a labeled container. Plan transport around the packed frame, canopy, and display materials. After use, dry the fabric completely, remove dirt, and store the canopy away from moisture and sharp objects to limit wear between events.
- Budget for the complete setup. List the canopy, tables, merchandise racks, lighting, payment equipment, packaging, transport, and storage. A replacement canopy top for a 10×10-foot frame is one possible future expense; compare replacement needs with the cost of maintaining your current setup. Prioritize items that support repeated events.
- Plan branding and supplies. Use a clear logo and concise graphics on visible surfaces, and add custom flags to help shoppers find your booth. Pack weights or anchors, permitted extension cords, a payment device, bags, cleaning cloths, and weather covers. Use a checklist to make sure essentials aren’t left behind.
- Account for safety and insurance. Keep cables out of walkways, exits clear, and displays secured against tipping. Review policy terms for public liability, merchandise, equipment, and staff exposures. Include precautions that address the event rules and conditions at your site in your operating plan.
A survey of 600 global retailers found that 44 percent spent less than $5,000 on pop-up shop space, while 16.7 percent spent between $5,000 and $10,000.
Outdoor pop-up retail tents
Choose an outdoor retail pop-up shop tent that suits your sales format, site, and customer flow. A weekend market booth calls for different access and display choices than an enclosed product showcase. Start by picturing how shoppers will approach, enter, and browse your space.
- Match the structure to the retail experience. Canopy tents provide an open footprint and quick access from several sides. Inflatable structures create a distinctive silhouette, while enclosed display tents offer more defined walls and entry points. For an outdoor retail pop up shop tent designed for browsing, prioritize open sightlines and easy entry. For a focused presentation, consider a more enclosed layout.
- Map the customer journey before selecting a footprint. Sketch the entrance, checkout, product tables, and staff position. Leave a direct route from the aisle to featured merchandise, and avoid placing tall displays where they block views. A clothing booth may need room for browsing, while packaged goods benefit from visible, reachable shelves.
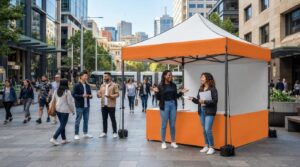
- Choose sidewalls for a clear purpose. Sidewalls can define the display, create a backdrop, or reduce exposure from an open side. Use them where they support the layout, but preserve access and visibility. A wall behind a checkout counter can frame the transaction area without closing off the entrance.
- Plan the floor as part of the display. A clean, level surface helps create an intentional retail setting and keeps tables and racks aligned. Choose flooring that fits the site surface and customer traffic. At a grass market, account for uneven ground; on pavement, secure flooring edges and keep them clear of walking routes.
- Make branding readable from the approach. Place the logo and key message where arriving shoppers can see them. Use a backwall as a visual anchor, then keep product labels and prices legible at closer range. Custom flags can add height and help identify the booth, while coordinated table coverings complete the presentation.
- Coordinate the full display. Treat the structure, backwall, flags, and product arrangement as one composition. Check that colors and messaging work together from the aisle and inside the booth. For a polished outdoor retail pop up shop tent setup, explore event display design ideas that bring the presentation into focus.
Zodiac Event Displays: Event Tents
Zodiac Event Displays can help shape an outdoor retail setup with Event Tents and coordinated display elements. Turn to the team when you’re planning a branded booth and want the shelter and presentation to work together. Backwall Displays can create a visual anchor behind merchandise, while Custom Flags can make the booth easier to spot. Inflatables can add a bold focal point when the event calls for a larger brand presence. Select the elements that fit your footprint, products, and customer flow, then build a cohesive display around them. For a coordinated event presence, contact Zodiac Event Displays.
Turn Your Plan Into a Standout Retail Presence
Make your outdoor retail pop-up shop tent the starting point for a memorable customer experience. Give shoppers a clear reason to pause, a natural path into your display, and an easy way to recognize your brand. A focused design can make even a compact booth feel welcoming, intentional, and ready for business.
Zodiac Event Displays offers Event Tents, Backwall Displays, and Custom Flags to help bring that presence together. Pair a shelter with a strong backdrop and visible branding to create a coordinated look that supports your retail goals. Contact Zodiac Event Displays to discuss your event display plans. Your next pop-up can be a confident expression of your brand, built to draw attention and invite customers in.
Frequently Asked Questions
What type and size of tent is best for an outdoor retail pop-up shop?
A canopy tent sized for your merchandise and customer circulation is a practical choice for most outdoor retail booths. A 10×10-foot footprint can work for a single vendor space, but plan the layout before selecting a size. Mark out tables, checkout, and entry areas on the ground. A jewelry display may need less staging than apparel racks, which require room for browsing.
How much does an outdoor retail pop-up shop tent cost?
The cost depends on the structure, frame, printed graphics, and accessories you choose. Estimate the full setup, including the canopy, branding, weights or anchors, transport, and storage. Custom graphics and added display elements can affect the overall budget. First define your event schedule and display needs, then compare options against those priorities.
Which pop-up tent materials and frame designs are most durable and weather-resistant?
Assess the canopy fabric and frame separately, since each wears differently. Inspect the fabric’s seams, reinforced stress points, and attachment to the frame. Check the frame joints and connections for a secure, consistent fit. Choose materials and construction suited to repeated handling, and store the canopy clean and dry to help prevent avoidable wear.
 Previous reading