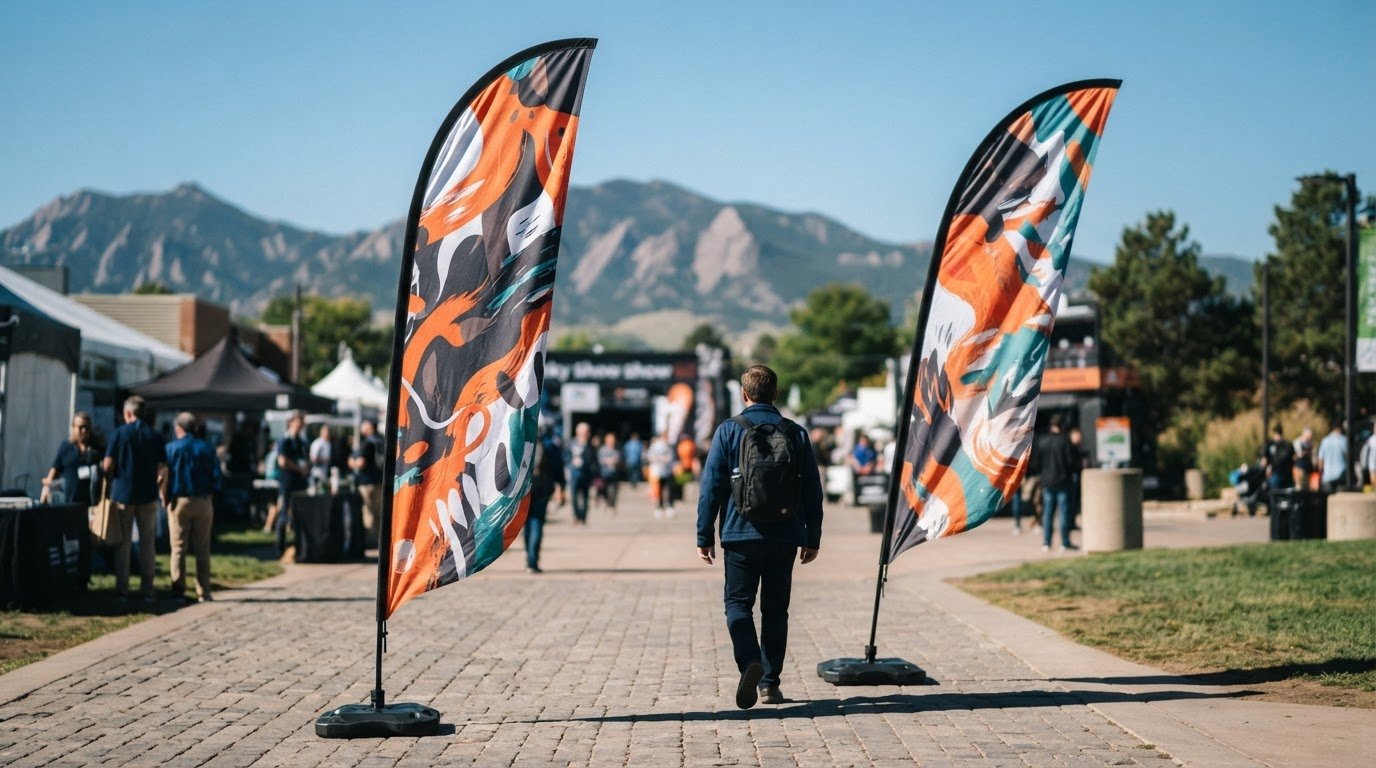
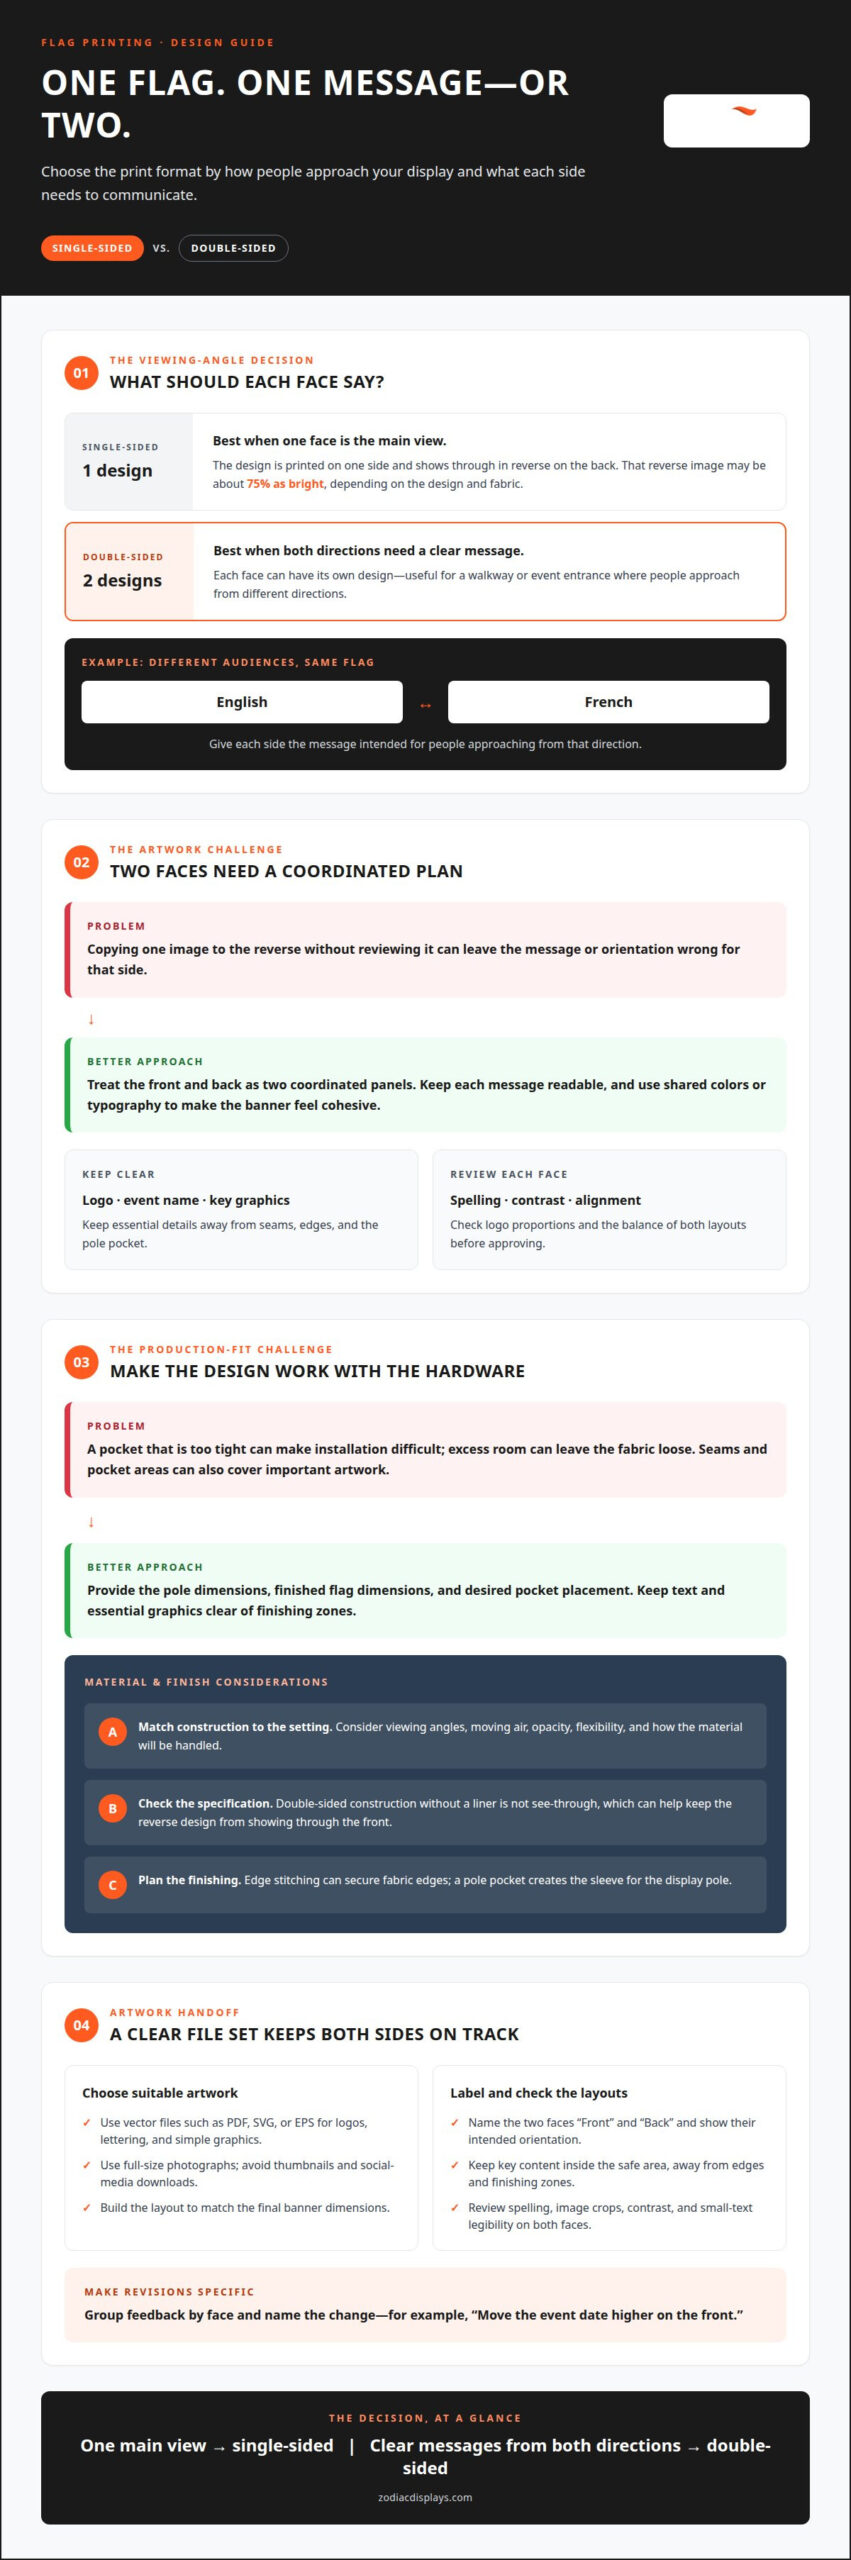
A flag that looks visible from both sides doesn’t necessarily have two separate designs. With single-sided printing, the image is printed on one side and shows through in reverse on the back, where it may be about 75% as bright, depending on the design and fabric. Double-sided flag banner printing can give each side its own design, making it a stronger fit when both sides need to read clearly.
Choosing between single- and double-sided flags depends on how people will view the display and what each side needs to communicate. Consider the artwork layout, pole-pocket fit, fabric, and finishing before deciding.
This guide explains how single- and double-sided flags differ, what to consider when preparing artwork, and how materials and finishing affect the display. You’ll also learn how to measure for a pole pocket and match a banner to your event setup, so your design is ready to make a polished impression from every angle.
Key Takeaways
- Choose single-sided printing when a reversed show-through image suits the display; use separate designs when each side needs its own message.
- Prepare artwork with readable layouts and suitable file quality so key details stay clear at banner scale.
- Match the material and print finish to the setting and the look you want, especially when the reverse side will be visible.
- Measure the pole and pocket together before production to help the finished flag fit its display hardware.
Single vs Double Sided Flags | What’s the Difference?
The difference is how the graphics appear on each face. A single-sided flag has one printed design, and the image shows through in reverse on the back. Double-sided flag banner printing lets you display a separate design on each face, which is useful when people approach from different directions.
Choose the format according to the message each side needs to carry. A single-sided design suits a display where one face is the main view. For a walkway or event entrance, separate sides can show different information. For example, one face could display English text and the other French, giving people approaching from either direction a readable message.
Plan the artwork as two coordinated panels, rather than copying one image without review. Keep the logo, event name, and key graphics clear on both sides. If the messages differ, use shared colors or typography to make the banner feel cohesive. Keep essential details clear of seams and the pole pocket.
For design revisions, group feedback by face and specify the change. “Move the event date higher on the front” is more useful than “make it pop.” Before approving the artwork, review spelling, logo proportions, contrast, and alignment on both layouts. A change to one side should not disrupt the balance of the other.
Before ordering, decide whether you need matching artwork or distinct messages, then provide the correct files and placement notes for each face. Include the finished flag dimensions and pole-pocket requirements in the order details. If a designer prepares the layouts, supply the logo, brand colors, wording, and a clear front-versus-back brief. This gives revisions a practical target and keeps both sides aligned with the event’s purpose.
With a double-sided flag, the front and back can show different designs, such as English on one side and French on the other. Treat each face as a complete message: check that its wording suits the intended direction and that both layouts share a consistent identity. This lets you use different languages without forcing the same text onto both faces. Confirm the pairing before finalizing the artwork, so each side communicates the intended message.
Artwork file formats and resolution
Start with the final banner dimensions and build the layout to match. A file that looks crisp on a laptop can appear soft when enlarged, especially if its images came from a small webpage. Use original logos and photographs where possible, rather than screenshots or compressed previews.
Vector artwork works well for logos, lettering, and simple graphics. Formats such as PDF, SVG, or EPS can retain sharp edges when scaled. Raster images, including JPEG and PNG files, use pixels; their effective clarity depends on image dimensions and the size at which they’re printed. A small logo enlarged across the flag may show jagged edges.
Prepare print-ready artwork in Adobe Illustrator or Adobe Photoshop. For a two-face design, label each layout “Front” and “Back” and make the intended orientation clear. Convert fonts to outlines or curves, or supply them as separate font files. This helps preserve the typography and prevents the reverse design from being placed incorrectly.
- Use vector files for logos, icons, and clean lettering.
- Use full-size images for photographs, avoiding thumbnails and social-media downloads.
- Separate each face into clearly named pages or files.
- Keep key content inside the safe area, away from edges and finishing zones.
Before approval, review both faces at full layout size. Check spelling, image crops, contrast, and whether small text remains legible. Confirm that the pole-pocket edge and finishing areas won’t cover essential details. For example, keep a sponsor name clear of the edge where the pocket will be sewn.
Organized files make revisions more precise. Send the artwork alongside a note identifying the front, back, finished dimensions, and any requested changes. For coordinated custom flag designs, this clear handoff helps align the artwork with the final display.
Double-sided banner materials and print finish
Material and finishing choices affect how both printed faces look and function. Match the construction to the display setting, viewing angles, and artwork.
Banner Material Options
Start by considering where the banner will appear and how it will be viewed. A display exposed to moving air has different demands from one hanging indoors, while a high-contrast design may need a surface that keeps both faces visually distinct. Ask how opacity, flexibility, and handling suit the intended setup.
Construction affects what viewers see through the banner. A double-sided flag construction without a liner is not see-through, which can help keep the reverse design from showing through the front. Review the specification for the construction being used, then consider whether its appearance suits your graphics and setting.
Print Finish
Finishing determines how the printed panel is completed and attached. Edge stitching can secure fabric edges, while a pole pocket creates a sleeve for the display pole. Keep text, logos, and essential graphics clear of seams and pocket areas.
Consider how the banner will fit its hardware. A pocket that is too tight can make installation difficult, while excess room can leave the fabric loose. Provide the pole dimensions and desired pocket placement with the artwork. This gives production a clear reference for the finished edge and helps preserve the design’s alignment.
Printing and Production Process
Double-sided production requires planned front and back designs, each aligned to the finished panel. Traditional construction may involve printing two flags and stitching them together. The joined layers separate the designs, so the front artwork does not simply appear reversed on the back.
Before printing, the production team reviews both files, their orientation, and the finishing placement. The panels are then printed and joined or finished according to the chosen construction. A final review confirms that both faces read correctly, the edges are secure, and the pole pocket matches the supplied measurements.
What is double-sided flag printing and how is it made?
Double-sided flag banner printing creates a display with artwork on both faces. Each face can carry matching graphics or a different message. Production starts with the approved design, finished dimensions, and pole-pocket requirements, then proceeds through printing, assembly, and inspection.
For traditional construction, two printed flags may be stitched together. Clearly identify the front and back artwork, and show the orientation of each face. This matters when text, logos, or directional messages must read correctly from opposite approaches. A note such as “front faces the entrance” gives the team a clear reference.
Here’s a practical production sequence:
- Prepare the files. Supply separate, clearly labeled artwork for each face, plus finished dimensions and pocket placement.
- Review the proof. Check spelling, image position, orientation, and how each design sits within the finished shape.
- Print the panels. The approved graphics are printed onto the selected flag material.
- Assemble and finish. The printed faces are joined or finished, with edges and pole pockets completed for display.
- Inspect the result. Review both faces for correct orientation, alignment, and clear visibility of essential details.
Consider a banner with a welcome message on one face and a directional arrow on the other. The proof should show both layouts in their intended viewing directions. Reviewing it can catch reversed wording or misplaced graphics before production. The pole pocket also needs to match the supplied hardware measurements so the finished banner can be mounted as intended.
To prepare your project, organize both designs, mark each face, and include the finished size and pocket details. Ready to shape your event display? Explore custom flag display options and bring your artwork together with the right setup.
Zodiac Event Displays: Event Tents
Zodiac Event Displays brings event visuals together with Custom Flags, Event Tents, and Backwall Displays. After planning your flag artwork and finish, consider how the complete display can work as one coordinated space.
Event Tents can establish a recognizable event area, while Custom Flags add visible messaging nearby. Backwall Displays complement the setup with a branded backdrop. Choose the combination according to your event layout, audience flow, and the message you want people to notice first. Inflatables offer another option for a distinctive visual feature.
If you’re ready to plan a cohesive event display, contact Zodiac Event Displays to discuss your project.
Make Your Event Display Work as One
Your banner can do more than carry a message. Use double-sided flag banner printing as part of a visual plan that guides attention, reinforces your event identity, and feels consistent across the space. Bring your goals, artwork, and display setting together in a clear project brief.
Zodiac Event Displays offers Custom Flags, Event Tents, and Backwall Displays to help shape a coordinated event presentation. Consider how each element will support the audience’s experience, from spotting your event to finding the right place to engage. A considered plan gives every display piece a clear role without crowding the message.
Ready to take the next step? Contact Zodiac Event Displays to discuss your event display plans. Bring your ideas, and start shaping a confident, cohesive presence.
Frequently Asked Questions
How do I choose the right pole, base, and mounting hardware for a double-sided flag banner?
Choose a base suited to the surface where you’ll display the banner. Use a ground spike for grass, dirt, or landscaping. For pavement, concrete, parking lots, or indoor use, choose a cross base with a weight donut. Fill the donut with water or sand to help stabilize the flag and prevent tipping. Match the pole to the banner’s pocket and intended setup.
How do I prepare artwork and files for double-sided flag banner printing?
Prepare layouts in Adobe Illustrator or Adobe Photoshop, and submit them as .ai, .pdf, or .eps files. Keep the front and back artwork clearly identified. Supply photos as separate, linked JPG or PSD files, with at least 72 ppi at 100% print size. Convert fonts to outlines or curves, or include the font files. This keeps layouts clear and preserves the intended typography.
 Previous reading